Origami Tessellation
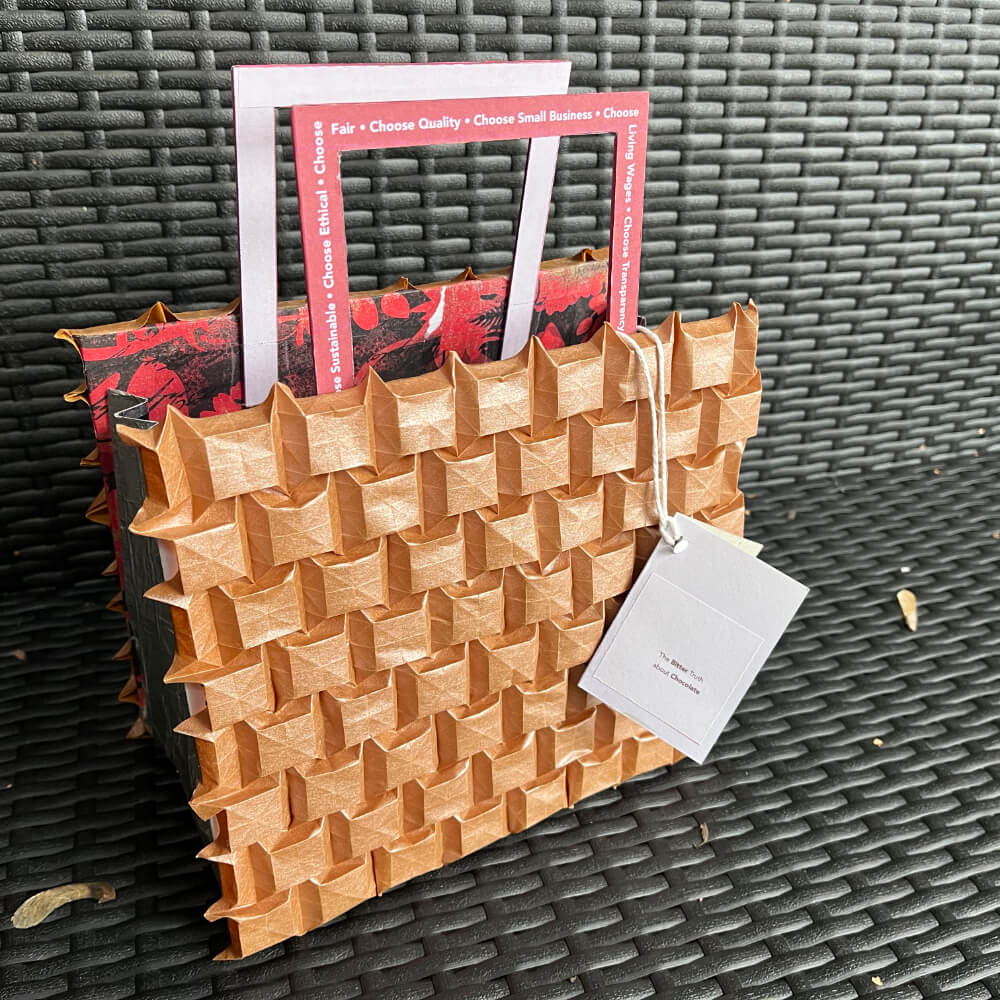
This tessellation piece was integrated into a paper purse and was fully designed by me in conjunction with a data-driven campaign regarding the use of unpaid and underpaid labor in the chocolate industry. I used 1 sheet of 12"x12" square paper for each side of the purse; each side took 2 hours of careful folding.
Process
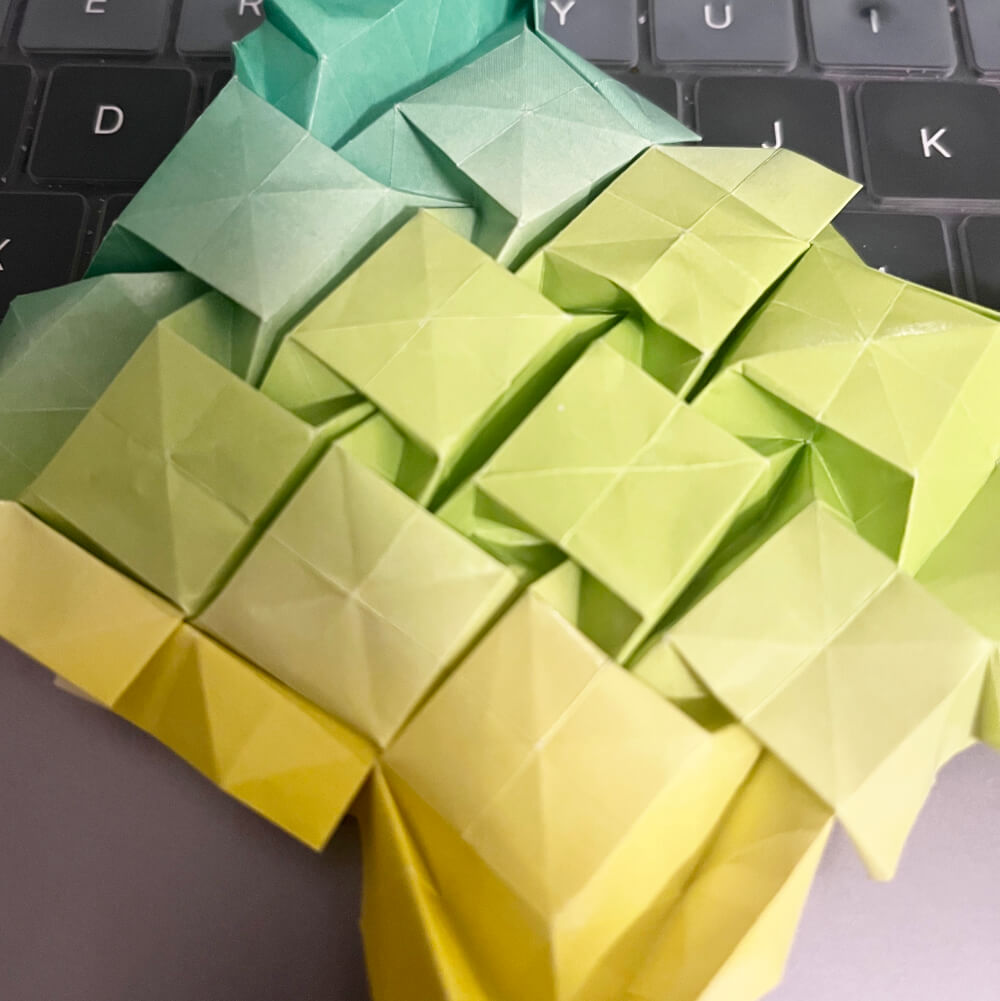
I wanted to design an origami piece that looked like a chocolate bar. I have never attempted to design and fold my own tessellation before. I did try and look at some tutorials online, but couldn't find anything that fit my precise vision. I ended up folding a grid of horizontal and diagonal lines to establish creases I could sculpt into squares. The first step was to pull out a square to determine how many "cells" each section would require. I started with a 2x2 square and discovered that each section required 4x4 cells. Below is the prototype, folded using a pretty standard piece of 6"x6" origami paper and a 16x16 grid. (Disclaimer: I am likely not the first person to discover this very simple tessellation pattern!)
Beause the underlying structure of the paper was a perfect square grid of 32x32, each square section is offset to the ones beneath it. I would have to fundamentally alter the initial grid in order to create aligned stacked square patterns. At this point, I was a multiple hours into experimenting... let's just go with this iteration :)
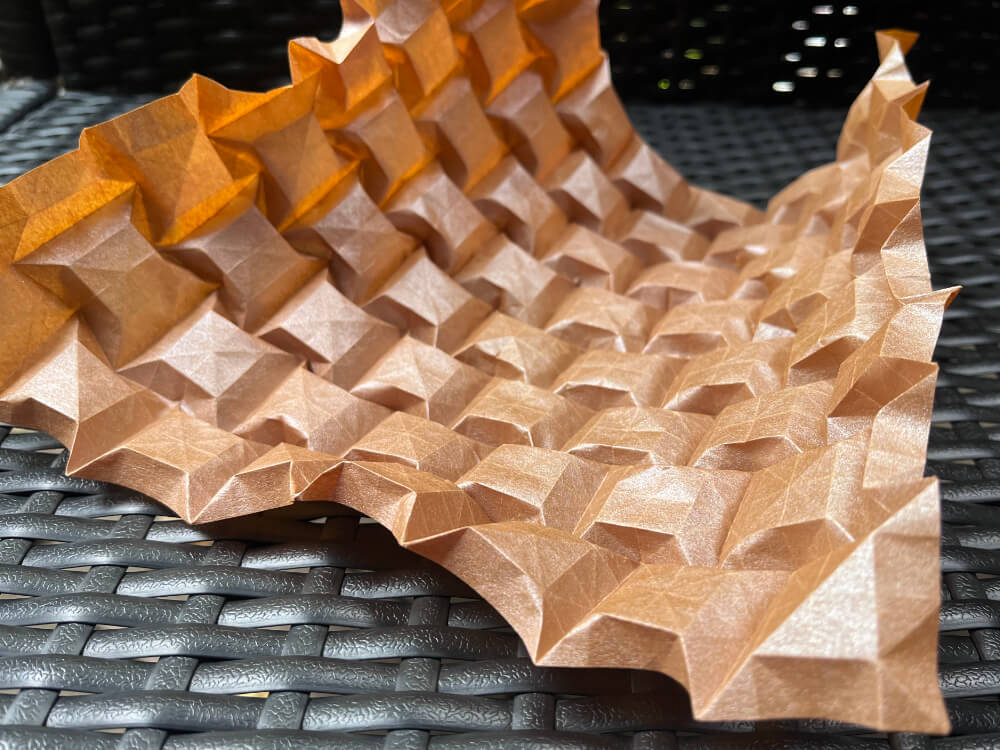
I started to get a much better feel for the folding process after the first big square was done. The underside of the paper really shows the details of the grid and crease pattern!
After both 12"x12" large sheets were fully folded, I started measuring out chipboard and paper to construct the rest of the purse. I used recycled foil wrapper from Lonohana chocolate bars for the sides and printed the design for the handle using Affinity Publisher. This is one of my favorite pieces I've ever made! I loved the process of discovering the tessellation design through pre-creasing and sculpting.